Note: If you are running Windows 2000 or Windows XP Professional you should install IISinstead of PWS. If you are using XP Home Edition, read this.
Starting the Installation
There are two places you can get PWS, both of which are free. The Windows 98 CD includes it, and you can download it from the Microsoft web site.
Warning 1: Microsoft does not recommend installing PWS on Windows Me, although they admit it can if you are an "advanced user who regularly tests unsupported software configurations".
Warning 2: There is a fairly rare problem with MTS that may cause you problems later.
I recommend following the instructions here before you start.
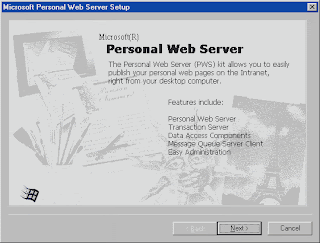


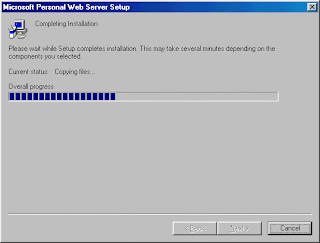
After waiting for the installation to complete, you'll be asked to restart your computer (but wait just a minute).
When you do, you'll see something new in your system tray on the taskbar, which shows that your PWS is now up and running. Congratulations!
A quick way to test it is to go to the following URL - write this down, and bookmark it in your browser later - http://localhost/iishelp. This brings up the excellent help that covers PWS and has a handy ASP reference too.

Installing CoverYourASP
This article describes exactly how to download the source code, install it on your computer and get it running on your local "server".
This assumes that you can run ASP applications on your computer. If you can't, please follow the instructions to install either Microsofts Personal Web Server (PWS) or Internet Information Server (IIS) first.
Starting the Installation
First, download the source code. There are three downloads - the site source code, images used in articles (e.g. screenshots) and banner images.
Downloading the file means that you agree with the usual legal stuff, especially that you won't re-publish this code.
I'll describe the entire download process first (it won't take long), then you can do it.
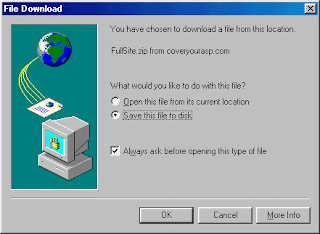
The first dialog you'll see is shown below. As shown, make sure "Save this file to disk" is checked, then choose OK.
Let's download the site!
• These zip files and all files contained in them are VIRUS-FREE, but you might receive false alarms. More...
• Downloading the file means that you agree with the usual legal stuff, especially that you won't re-publish this code.
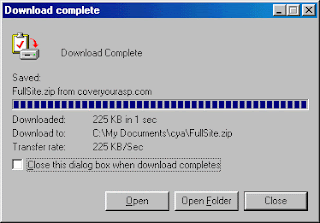
Then let's continue - choose "Open" on the dialog to look inside the zip file you just downloaded.
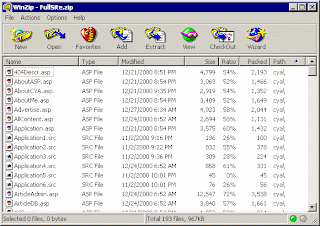
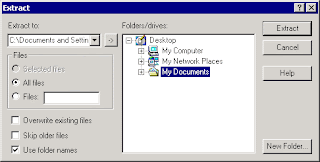
Assuming you have WinZip installed, you'll see the dialog below when you open your downloaded zip file.
This is one product everyone really should have installed on their computer. It's a must-have when downloading or emailing files
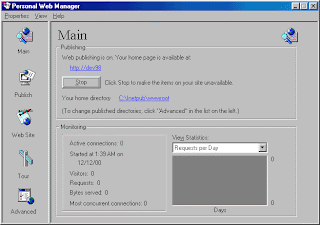
Start PWM by double-clicking on the PWS/IIS icon in the system tray, or by finding it in the Start menu. Mine was installed into Programs / Accessories / Internet Tools / Personal Web Server, but it seems that different versions install into different locations. My documentation says that it is installed into Programs / Microsoft Personal Web Server!
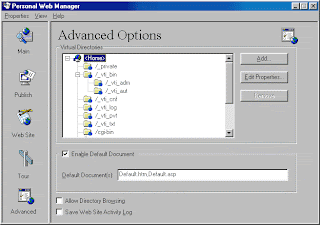
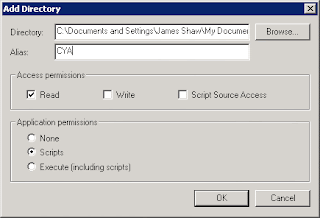
This dialog creates a virtual folder in PWS. It maps the physical folder location of the files with an alias you can use in a URL in your browser.
First, use the Browse button to select the cya folder you installed the files into. This is the first time you'll see why I use My Documents - it's the top selection...
Next, enter the alias you want to use. I suggest you use CYA since my code assumes that has been used, but you can change it if you wish. I'll show you later how to edit the code in the include/config.asp file if you don't use CYA.
The second way to achieve the same results is to use Web Sharing.
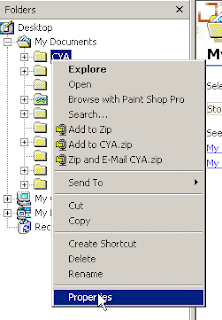
Start by opening Windows Explorer (right click on My Computer icon on desktop, and choose Explore) and navigating to the My Documents/cya folder, or wherever you placed the source earlier.
Right click on the folder name, and choose Properties from the context menu that appears.
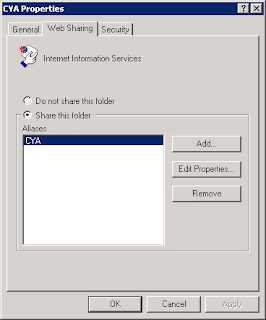
The dialog that appears will have a Web Sharing tab. Click on the tab to open that page.
After clicking on "Share this folder" you can add or edit the alias for that folder using the Add or Edit Properties buttons.

Troubleshooting
This trouble shooting section unfortunately promises to be the largest section of all on the entire web site! But that's what makes it so valuable - many people have similar problems when running an ASP application for the first time.
If you have a problem that isn't covered here, please send it in immediately. I can then add it to this section and other readers will be able to benefit too.


No comments:
Post a Comment